Have you noticed a growing damp spot on the ceiling in your home and realized a leak in the roof caused it? Is it located beneath the solar panels that were recently installed, making it even more difficult to access?
If this is the case, you’re likely feeling overwhelmed and wondering how to fix the roof leak under solar panels without risking further damage or having to call a professional. Lucky for you, we’re here to help!
In this article, I’ll share with you some simple steps that you can take to safely and correctly fix a leak under solar panels on your roof.
You don’t need any tools or fancy equipment — just some basic materials you probably have lying around.
With these easy-to-follow instructions, you should be able to have your roof leak fixed before you know it. Let’s get started!
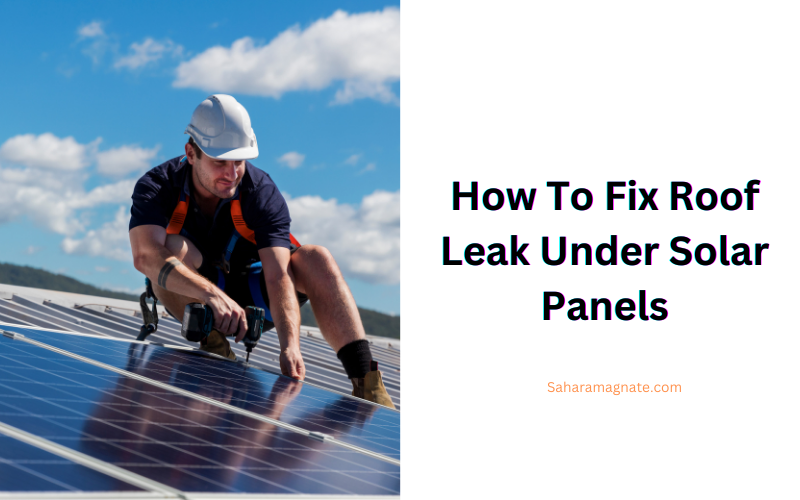
How To Fix Roof Leak Under Solar Panels
Here are the necessary procedures to fix a roof leak under solar panels:
Identify the Source of the Leak
If you have a leak underneath your solar panel, identify the source first. This can be tricky since reaching the roof and pinpointing where the water comes from is often difficult.
However, a few signs can help you determine what’s causing the leak.
First, look for any visible signs of damage to the roof. This may include cracks in the tiles, gaps in shingles, or other tell-tale signs of deterioration.
These areas may be vulnerable to water damage and should be inspected thoroughly to identify leaks under your solar panels.
Second, check for water stains on the ceiling or walls below your solar panels. If there are any suspicious patches on these surfaces, they may indicate a leak somewhere on your roof.
To pinpoint its location, you can use a damp cloth and a flashlight to search for tiny water droplets near your solar panels.
Third, inspect your solar panel frames for any gaps or cracks that could allow water into your home.
Pay particular attention to where two components meet because these weaknesses can cause leaks under the panels.
Follow Due Safety Precautions When Working on a Solar Panel Roof
Before attempting to fix a roof leak under solar panels, taking the necessary safety precautions is essential.
Solar panel roofs can be hazardous, involving high voltage electricity and working in the elements.
Here are some tips for staying safe:
- Wear gloves, safety glasses, and a hard hat. This will help protect you from any loose material or hardware that may fall on you.
- Ensure your ladder is stable and secure before climbing onto the roof.
- Have an assistant with you who can help steady the ladder and spot any potential hazards around you.
- If the weather is inclement, postpone your work until it is safe to proceed.
- Unplug your solar panel system before working on it. Turn off all switches and breakers connected to the system to avoid electric shock or fire hazards.
Making the Necessary Repairs
Leaking roofs can be a real headache – but what do you do when the leak is beneath your solar panels? Well, you don’t want to ignore it – that’s for sure!
Step 1: Identify the Source of the Leak
The first step is to identify where the roof leak is coming from. Minor roof leaks may not be visible from the ground, so you may need to look for other signs, such as dark patches on your ceiling or walls, mold or water stains.
If you can identify these signs, you know exactly where to start making repairs.
Step 2: Remove Damaged Materials
Once you have identified the source of the leak, it’s time to start making repairs. Depending on how badly damaged your roof is, this might involve replacing shingles, flashing, and other materials.
If your solar panel system is causing the leak – whether because of poor installation or damage – you must remove it carefully before making any repairs.
Step 3: Repair & Reinstall Solar Panels
Once you have removed and repaired any damaged materials and sealed any gaps around pipes or vents, it’s time to reinstall your solar panels.
Remember that even though you might be tempted to take shortcuts during this step – like using sealant instead of properly reinstalling flashing or shingles – doing so can result in further damage. So ensure all joints are secure and all materials are properly installed before moving on.
Add a Protective Layer Against Future Leaks
If you want to prevent a roof leak from happening again, adding a protective layer under your solar panels is key.
Roofing membranes are designed to provide additional protection against water, snow, and ice.
Single-ply and two-ply are the two most common types of protective membranes for roofs. Single-ply membranes are much lighter than the two-ply option, so they can be applied faster, making installation easier.
If you choose the single-ply membrane, ensure it is rated for UV radiation, which will help protect it from the sun’s rays.
The two-ply membrane is much thicker and provides better protection against extreme weather conditions.
It’s more expensive but can help protect your roof from leakage in the future. If you install this membrane correctly with an appropriate flashing system, it should be able to keep water out of your home for years to come.
The choice between the two types of protective membranes is up to you – depending on your budget and how long you plan to stay in your home.
Do plenty of research before deciding which one is best for your house. Once the new slate or tile is installed over the protective layer, your roof should be protected against further leak problems for years to come!
Seal Around the Solar Panels
To finish off the repair of the roof leak, it’s best to seal the problem area as much as possible. You don’t want the water getting between the shingles and the panels and causing more damage.
Here’s what you need to know about sealing around solar panels.
Caulking
First, you’ll want to use a silicone-based caulk to seal around the edges of each panel. This will help keep out moisture, insects, and other critters looking for a way into your home.
Be sure to apply a generous bead of caulk in the little nooks and crannies around each panel.
Sealing Tape
You’ll also want to use weatherproof tape on each panel — this will help keep out even more moisture.
There are many different types of tapes out there — just make sure that whatever kind you choose is specifically designed for outdoor use, or else it won’t be able to stand up against water or snow over time.
In general, sealing around your solar panels is vital wh keeping out unwanted rainwater or snowmelt — caulk and weatherproof tape are two great tools for doing this effectively!
Maintaining Your Solar Panels to Avoid Further Leaks
If you have roof leaks under your solar panels, you must take steps to maintain them properly. Proper maintenance can help avoid further leaks and costly repairs.
Here are some tips to keep in mind:
Cleaning the Panels
One of the most important steps in maintaining your solar panels is to keep them clean. Ensure you regularly remove debris, dirt, and other debris from the surface of the panels to prevent clogging and potential water damage.
If your solar panels have been exposed to water or moisture, consider using a specialized cleaner for solar panels for optimal cleaning results.
Checking for Damage
Inspect your solar panels regularly for any signs of wear or damage. Look for missing or broken pieces, cracks, or any other signs that could lead to water damage or leakage.
If you notice anything suspicious, contact a professional immediately to repair the issue before it worsens and causes further issues with your roof leak.
Sealing Around Panels
Lastly, ensure that all the seals around the panel are intact and securely in place. This will ensure that no water or moisture can enter under the solar panel system and cause problems with your roof leak.
You may need to seal around the edges of each panel using specialized sealants explicitly designed for solar panel systems.
By following these tips, you can help ensure that your solar panels remain in top shape—and reduce your chances of dealing with a pesky roof leak!
Conclusion
Following the steps in this article, you can learn how to fix roof leaks under solar panels.
In summary, you can begin by identifying the leak’s source and ensuring the area is free of debris.
Then, inspect the area thoroughly to determine whether you need to repair the roof or replace it entirely.
If the roof needs to be replaced, select a roofing material compatible with the existing solar panel system.
Finally, make the necessary repairs or replacements, seal the roofing system, and enjoy your leak-free roof.
With time and effort, you can ensure that your solar panel system remains in excellent condition for many years.