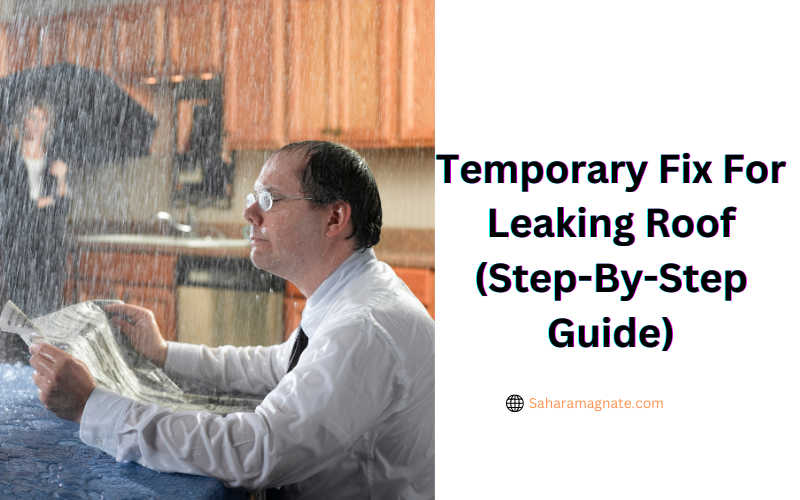
A leaking roof can be a nightmare. It means dealing with the mess and frustration of water dripping where it shouldn’t, and you must act quickly to avoid any more serious damage.
Fortunately, there is a temporary fix for a leaking roof until a professional can restore your roof properly.
This guide will give you step-by-step instructions on a temporary fix for your leaking roof in no time.
So whether you’re a homeowner who needs some DIY guidance or someone who needs assistance helping out a friend or family member, keep reading to learn more about how to quickly and safely patch up a leaking roof!
Assessing Damage for Leaking Roofs
In many cases, you’ll be able to spot a leaking roof immediately. However, if the water gets into the house in an area that’s not immediately visible from the outside, you’ll need to do some detective work to figure out where it’s coming from.
The first step is to assess the damage that could be causing the leak. This can include things like loose shingles, cracked flashing, missing tiles, or something more serious, like a structural issue or broken seals in your gutter system.
If you notice white spots on your ceiling—also known as water stains—they can indicate a potential leak you may have missed from outside. If your attic is wet or musty-smelling, this is also an indication that there may be a leak somewhere.
Try to access your roof or attic to see better where and what damage has occurred.
By doing so, you can get an idea of how extensive the repair will need to be and what steps will need to be taken for a temporary fix until a qualified contractor can professionally repair it.
Safety Precautions for Repairing Leaking Roofs
If you’re looking to fix a leaking roof temporarily, you can take steps to prevent further damage from happening—but it’s essential to understand the safety precautions involved.
After all, roofs can be slippery, and working with power tools overhead can increase the risk of injury.
Here are some key tips for ensuring your safety as you patch up a leaking roof:
- Use proper safety gear. Use protective eyewear and non-slip shoes while climbing on a roof. In addition, wear gloves to protect your hands when handling nails and other sharp objects.
- Have someone help you. Ask someone else to help—it’s much safer (and more efficient) to have multiple people doing the job rather than attempting it alone.
- Plan ahead. Having all the necessary tools and materials ready before getting up on the roof will reduce your time up there and minimize potential risks.
By following these steps and exercising caution throughout the process, you’ll be able to safely and securely patch up that leaky roof in no time!
Gathering the Right Materials for Temporary Fix
You know you need to act fast and fix a leaking roof temporarily, so it’s time to gather the suitable materials. This is crucial to avoid using anything that will worsen the situation.
Scissors
You will need a sharp pair of scissors for cutting the materials you’ll use for patching.
Roof Patching Materials
Various materials are available for a temporary roof leak fix, but you should always opt for one that is UV resistant so it won’t degrade in the sun.
You want the patch to stay intact after a couple of weeks! Some popular suggestions include EPDM rubber, silicone, or aluminum tape.
Brush and Mop
You can clean up any mess or debris from your repair job with a brush and a mop. Remove any dirt or moss on your roof before beginning the repair process.
You are almost ready! Before we start, double-check that you have all these materials in hand so you will get everything during the repair process.
Step-by-Step Process for Successful Temporary Fix
If done right, a temporary fix for a leaking roof can make all the difference when handling a leaking roof.
To help you understand the process, here’s a step-by-step guide breaking down what needs to be done:
Step 1: Identifying where the water is coming from
Before you do anything else, take some time to identify where the water is coming from and determine whether it’s an active leak or just water seeping in through an old sealant.
Once you know this, mark out the area and ensure everything is ready for your next step.
Step 2: Applying primer and sealant
This is the part that requires some skill and care. Using either latex primer or an asphalt-based primer, depending on your roof type, brush on a thin layer of primer around the marked area. Next, apply a quality acrylic sealant with a putty knife or caulking gun.
Smooth out excess sealant with your putty knife and allow enough time for curing before carrying out your next step.
Step 3: Covering up with roofing cement
For this final step, use roofing cement to fill gaps or cracks and create a weatherproof seal around your temporary fix.
Ensure that everything is covered up properly before leaving it to dry completely—a day should be enough time to set correctly and keep your leaking roof secure until you can make more permanent repairs.
Emergency Protocol When in Doubt About the Fix
When in doubt, there’s an emergency protocol you should use. First, assess the situation to see where the leak might come from. Climb up a ladder to get a better view if necessary.
Once you’ve identified the source of the leak, it’s time to take action:
- Cover the area with a tarp or plastic sheeting, and secure it with rope or tape. This won’t stop the leak, but it’ll give you an extra buffer against stormy weather so that water won’t get in and cause additional damage to your home.
- Find any sealants or glues you have at home and put them on the spots that are leaking — this is just a temporary measure, but it could save you from more costly water damage later on.
- Contact a local roofer to come and take a look at your problem — this step is essential if you want to ensure that your roof is appropriately fixed and won’t start leaking again soon.
Ways to Make Your Roof Last Longer
Some ways to make your roof last longer and prevent future damage include keeping your roof clean and debris-free and doing regular maintenance checks.
Inspecting the roof regularly is vital to identify any potential damage before it becomes a bigger problem.
You can also take steps to help protect your roof from the elements. Ensure there are no holes or gaps in the shingles or flashing, and often inspect for signs of water penetration.
The following checks can make a big difference in preventing future problems.
- Check for any curling or buckling shingles
- Ensure gutters and downspouts are clear of debris
- Check for broken tiles or missing pieces
- Inspect seals around vents, chimneys, and other openings
- Check for overhanging tree branches
Conclusion
A temporary fix for a leaking roof is a relatively easy, low-cost project that can save a lot of time and money compared to a more permanent repair.
You can protect the roof from further damage by taking the time to find where the leak is coming from, patching it up, and ensuring the area is waterproofed.
While a temporary roof fix can be a great way to prevent major damage, it’s important to note that it’s not a long-term solution.
To ensure you’re protected, it’s essential to consult a professional roofer to assess the damage and provide a permanent solution as soon as possible.
Following the steps in this guide can help your roof stay dry while a more permanent solution is put in place.