If you’re looking to install a new metal roof, you’ll need to take the time to cut it around vents and other openings.
But how do you do it? Don’t worry—it might sound intimidating, but cutting metal roofing is easy.
In this guide, we’ll walk you through the steps necessary for making a clean cut in your metal roofing material.
We’ll cover selecting your tools, measurements, safety tips, and precautions to take as you work.
With these simple tips and steps, we’ll have you making cuts around vents in no time!
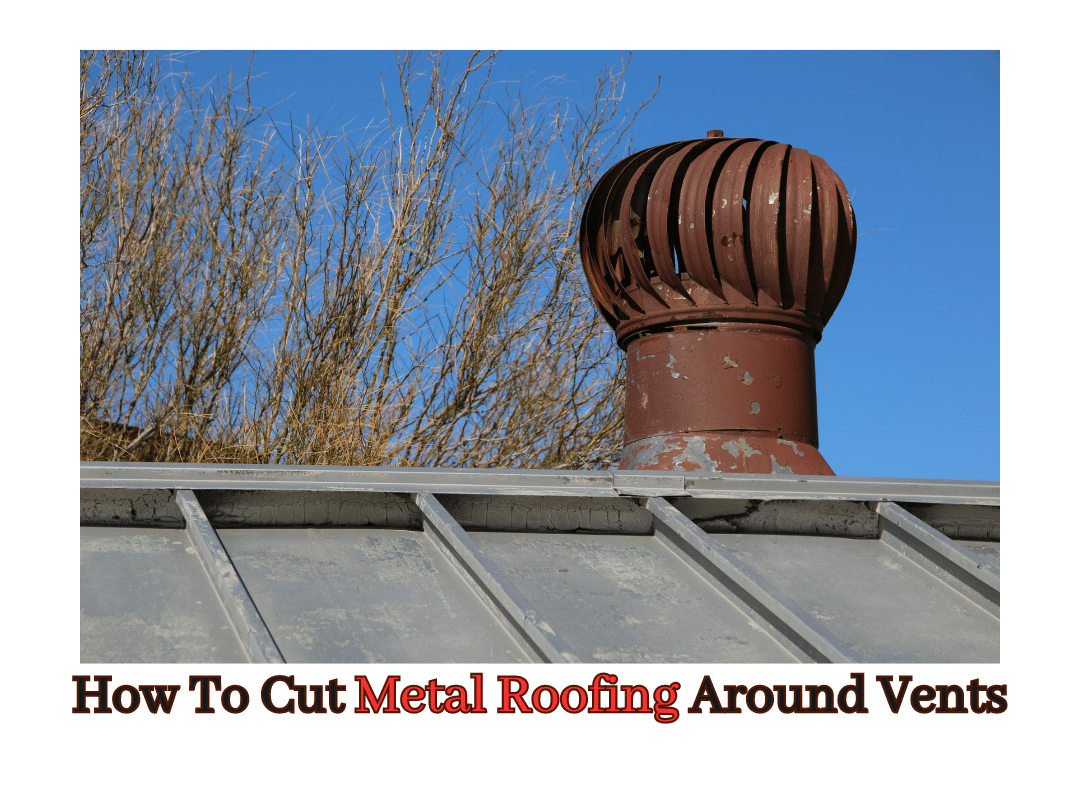
How To Cut Metal Roofing Around Vents
Cutting metal roofing around vents can be tricky, but the right tools and materials can make the job easier.
Here are some basic steps to cut metal roofing around vents:
1. Prepare the Metal Roof for Vent Installation
Cutting metal roofing around vents can seem intimidating, but it’s simpler than it looks!
Before you start, you must ensure your roof is prepped for installation.
The first step is to measure and mark the area around the vent. You can use a ruler and pencil or chalk to draw the line at the perimeter of where you want to cut your metal roofing.
Make sure to leave some extra space around the vent for installation and to accommodate any expansion or contraction from temperature changes.
Next, use special cutters designed for metal roofing to create clean, precise cuts. You can also use regular tin snips if necessary.
However, remember they may not work well on corrugated and ribbed panels or thicker metals.
2. Equipment Needed for Cutting Metal Roofs
For cutting metal roofs around vents, you’ll need the following:
- A circular saw with a metal-cutting blade. It’s essential to use a blade designed specifically for cutting metal; otherwise, you won’t make an effective cut.
- Safety glasses or goggles to keep your eyes safe when cutting.
- Metal or tin snips are great for making precise cuts and getting into tight spaces.
- A drill with a hole saw bit is suitable for making holes in the metal roof.
- A screw gun or electric drill is also helpful to accurately and securely fasten screws into the roofing material.
- A measuring tape, drywall square, and level,
3. Proper Measurement and Marking of Cuts
Now that you’ve got the right tools and safety gear, it’s time to get to work and make those cuts.
Before starting, you must ensure you have the correct measurements and markings.
Accurate Measurements
Measuring a vent is essential because it helps determine how much material is needed for the job and how broad the cuts should be.
Two of the most accurate measurements for DIY projects are a steel ruler and a pair of calipers.
A steel ruler is best for larger areas, such as pipe or vent lengths, whereas calipers are better suited for small areas, like holes or vents for specific sizes of pipes.
Proper Marking
Once measurements are taken, mark them on your roofing panel before cutting. It’s best to use a non-permanent marker like chalk to remove any mistakes or extra marks later on easily.
A carpenter’s square can also be handy, so use one when lining up your marks across the panel. If drawing straight lines is easier, use a chalk line tool.
These steps will ensure that your cuts are precise and accurate, which leads to the flawless installation of metal roofing around vents!
4. Cutting the Metal Roof With a Circular Saw
When cutting metal roofing around vents, your best bet is to use a circular saw. But for that, you must ensure that your circular saw blade is sharp and made for cutting metal.
Once you have a quality blade in your toolbox, you’re ready to get started.
Step-by-Step Guide
Here’s how you can cut metal roofing around vents with a circular saw:
- Measure and mark the area where the vent will be installed.
- Place the metal sheet on two saw horses and adjust the blade of your circular saw to the correct depth.
- Set the edge of your circular saw’s shoe against the line you marked earlier and cut slowly along the line.
- Ensure not to force or overexert your strength, as this could damage your tools and yourself.
- Once done, smooth any rough edges with a file or sandpaper before installation begins.
Using a circular saw is efficient and quick when cutting metal roofing around vents, but always be cautious and wear protective glasses for safety when operating power tools!
5. Finishing the Edge With a Tin Snips
You’re almost done with cutting your metal roofing around a vent. The last step is to finish off the edge to give it a nice, clean look. To do this, you’ll need a pair of tin snips.
Tin snips are a particular type of cutting tool designed to cut through thin metal sheets.
They have serrated blades at the end and come in two varieties: left-cut tin snips and right-cut tin snips.
Left-cut tin snips will cut in a curved motion to the left, while right-cut tin snips will cut in a curved motion to the right.
Here are some tips for using tin snips:
- Wear protective gloves when handling the snips, as they can cause cuts if not handled properly
- Hold the material firmly to avoid slipping
- Cut slowly and steadily, exerting just enough force so that the blades don’t slip or twist
- Make sure both hands are on the handles when cutting—this helps keep control and gives you more power while making cuts
- Make sure your grip is loose so you can flex your arms if needed without dropping them
- Finish each cut by pulling back slightly outside of where you wish to end your cut, then along the line for an even finish.
Using these tips and techniques, you can finish your metal roofing around vents for that perfect finish!
Sealing the roof with a metal roof vent sealing adapter
To fix the vent, it’s best to seal it with a metal roof vent sealing adapter. This adapter comes in various shapes and sizes and can create a seamless transition between the vent and the roofing material.
The adapter seals gaps around the vent, ensuring no water gets in. This is important because any water that gets in will accumulate, leading to expensive repairs or even more damage to your home.
When cutting metal roofing around vents, use an appropriate size adapter for your project. The wrong size could lead to an improper seal, compromising the longevity of your roof.
If you’re unsure which size you need for your project, ask an expert or consult installation instructions for detailed measurements. With this knowledge, you’ll be able to get the job done quickly and confidently!
Conclusion
Cutting metal roofing around vents can be intimidating, but it doesn’t have to be. You can safely and effectively get the job done with the right tools and supplies and a step-by-step approach.
Remember to take your time and be careful; if you have any questions, don’t hesitate to contact the professionals.
Good luck, and happy cutting!